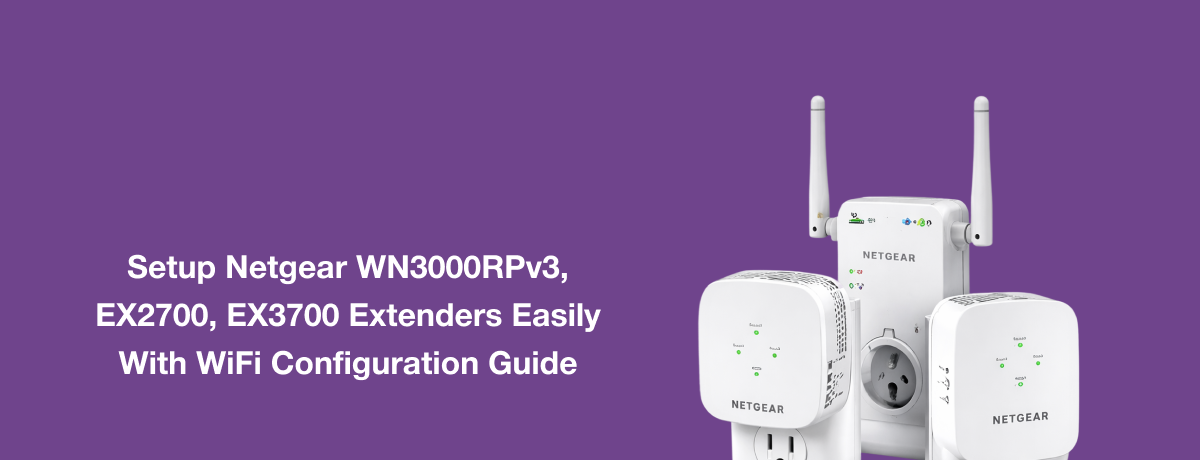
Netgear WN3000RPv3 Setup | Netgear EX2700 Setup | Netgear EX3700 Setup
Posted by WifiExtSetup on 06th March 2026
Whether you’re setting up a Netgear WN3000RPv3, Netgear EX2700, or Netgear EX3700 WiFi extender, the setup process can seem daunting if you’ve never done it before. But don’t worry — this comprehensive guide will walk you through every step, give practical tips, and help you avoid common mistakes. By the end of this article, you’ll have your extenders up and running, expanding your WiFi coverage to places your main router can’t reach.
Before we dive into the specific steps for each model, it’s helpful to understand how WiFi extenders work and the common setup methods you’ll encounter.
Introduction to WiFi Extenders
Home WiFi routers have limited range. Thick walls, multiple floors, or large spaces can leave “dead zones” where your phone, laptop, or smart devices struggle to connect. That’s where WiFi extenders come in. These devices repeat your existing WiFi signal and expand coverage to hard-to-reach areas.
Netgear is one of the most trusted brands for WiFi extenders, offering models like the WN3000RPv3, EX2700, and EX3700 — each designed for different sized homes and network needs.
Understanding How WiFi Extenders Work
A WiFi extender connects wirelessly to your main router and rebroadcasts that signal to areas where WiFi is weak. Think of it like planting a relay runner halfway through a race — it grabs the signal and pushes it further ahead. Using the extender can significantly improve WiFi stability, especially in large homes or multi-room setups.
There are two common ways to configure your extender:
🔹 WPS (Wi-Fi Protected Setup):
This method connects the extender to your router with a simple button press — no browser needed.
🔹 Web Browser Setup:
This is more manual but works even when your router doesn’t support WPS. It uses a setup wizard in your browser.
Preparation Before Setup
Before you begin, it’s important to prepare properly to ensure a smooth setup.
3.1 Check Router Compatibility
Not all routers support WPS, and some older routers may struggle with newer extenders. If your router does have a WPS button, setup can be much faster.
3.2 Know Your SSID and Password
Your SSID is your WiFi network name, and the password is what devices use to connect. You’ll need both for most setup methods.
3.3 Find a Suitable Power Outlet
Initially, place your extender near your router. Once setup is done, you can reposition it halfway between the router and the weak signal area.
Setup Methods Overview
Before we go into each model’s specific steps, here’s a quick overview of the two most common methods:
4.1 WPS Method (Quickest)
- Plug in the extender.
- Press the WPS button on the extender.
- Press the WPS button on your router within 2 minutes.
- Wait for LED lights to turn solid green — connected!
4.2 Web Browser Setup Method
- Connect to the extender’s default network (often called “NETGEAR_EXT”).
- Open your browser and visit www.mywifiext.net.
- Follow the setup wizard to select your WiFi network and enter your password.
Netgear WN3000RPv3 Setup
5.1 What You Need
- Netgear WN3000RPv3 Extender
- Router WiFi name (SSID) & password
- A WiFi-enabled device (phone or laptop)
5.2 Step-by-Step Setup with WPS
- Plug in the WN3000RPv3 near your router.
- Wait for the Power LED to turn solid green.
- Press the WPS button on the extender.
- Within 2 minutes, press the WPS button on your router.
- Wait until the extender’s LED turns solid green, indicating a strong connection.
- Once setup is complete, relocate the extender for optimal coverage.
5.3 Step-by-Step Setup with Browser
- Connect to the wireless network broadcast by the extender (default often “NETGEAR_EXT”).
- Open your browser and visit www.mywifiext.net.
- Go to Setup > Connect to an Existing Network.
- Choose your router’s SSID and enter the password.
- Apply the settings and wait for the extender to connect.
The extender may rename its SSID to your chosen name with “_EXT” at the end.
5.4 Finalizing the WN3000RPv3 Setup
Once connected, move the extender closer to the weak WiFi zone and ensure the LED signal is solid green — that means good coverage.
Netgear EX2700 Setup
6.1 What This Extender Can Do
The Netgear EX2700 is a compact, affordable extender that offers up to 300 Mbps on the 2.4GHz band — perfect for casual streaming and browsing.
6.2 EX2700 Setup via WPS
- Plug the EX2700 into a power outlet near the router.
- Wait for the Power LED to turn solid green.
- Press the WPS button on the extender.
- Within 2 minutes, press the WPS button on your router.
- The WPS LED should blink and then turn solid green when connected.
- Move the extender to your desired location.
6.3 EX2700 Setup via Browser / Smart Setup
If your router doesn’t support WPS or you prefer manual setup:
- Connect to the EX2700’s network (e.g., NETGEAR_EXT).
- Open your browser and visit www.mywifiext.net.
- Follow the on-screen wizard to select your WiFi and enter the password.
- Set a new SSID or keep the default — then apply changes.
- Move the extender to improve coverage after setup is complete.
6.4 Tips After Setup
- Use the Router Link LED on the extender to find the best placement — Green is best, amber is okay, red is poor.
Netgear EX3700 Setup
7.1 Features of the EX3700
The EX3700 is a dual-band extender (2.4GHz + 5GHz) supporting up to 750 Mbps, making it ideal for streaming, gaming, and video calls.
7.2 EX3700 Setup With WPS
- Plug the EX3700 into a power outlet.
- Wait for the Power LED to turn green.
- Press the WPS button on the extender.
- Within 2 minutes, press the WPS button on your router.
- Once the WPS LED turns solid green, connection is complete.
7.3 EX3700 Setup via Web Browser
- Connect a device to the extender’s network.
- Open a browser and visit www.mywifiext.net.
- Select the network you want to extend and enter your password.
- Choose the SSID to broadcast and finish setup.
- Reposition the extender for best performance.
7.4 Choosing the Best Location
Aim to place the extender about halfway between your router and the weak signal area — not too close, not too far.
Troubleshooting Common Issues
8.1 WPS Not Working
- Ensure both router and extender support WPS.
- Press buttons within two minutes of each other.
- Move devices closer to each other during setup.
8.2 Poor LED Indicators
- Red or amber LED: Move extender closer to router.
- No lights: Check power or press the Power button.
8.3 Extender Not Broadcasting
- Make sure your device is connected to the extender’s setup network.
- Try the web browser setup method via mywifiext.net.
Best Practices for Extender Performance
- Place extenders near high signal strength areas during setup.
- Avoid thick walls and metal objects between the extender and router.
- Periodically reboot extenders to refresh connections.
Conclusion
Setting up your Netgear WiFi extender doesn’t have to be confusing. Whether you’re working with:
- Netgear WN3000RPv3,
- Netgear EX2700, or
- Netgear EX3700,
you can get them online quickly using either WPS or your web browser setup. With a few simple steps — plug in, connect, and customize your settings — you’ll expand your WiFi coverage to every corner of your home.
FAQs
Q1. What’s the easiest way to set up my Netgear extender?
Using the WPS button is the simplest method if your router supports it.
Q2. Can I set up my extender without a computer?
Yes — you can use a smartphone or tablet to access mywifiext.net during setup.
Q3. Why doesn’t my extender show up in WiFi networks?
Make sure it’s powered on and within range of your router. Try restarting the extender.
Q4. Should I use the same SSID for my extender?
You can use the same SSID or give it a unique name — up to your preference.
Q5. What do different extender LED colors mean?
Green: strong connection; Amber: moderate; Red: poor — consider relocating your extender.