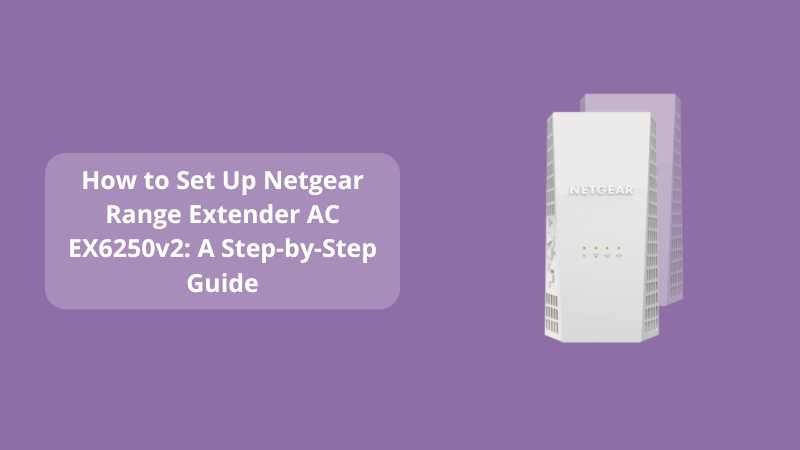
How to Set Up Netgear Range Extender AC EX6250v2: A Step-by-Step Guide
Posted by WifiExtSetup on 08th May 2025
Are you tired of Wi-Fi dead zones in your home? Does your internet connection drop when you move to certain rooms? The Netgear Range Extender AC EX6250v2 might be the solution you need. But how do you set it up correctly to ensure optimal performance?
In this guide, we’ll walk you through the setup process of the EX6250v2, ensuring you can enjoy seamless internet connectivity throughout your home.
Understanding the Netgear EX6250v2
The Netgear EX6250v2 is a dual-band Wi-Fi mesh extender designed to amplify your existing Wi-Fi signal, eliminating dead zones and providing a more reliable connection. It supports speeds up to Mbps and is compatible with any standard Wi-Fi router.
“A strong Wi-Fi connection is no longer a luxury—it’s a necessity.”
Preparation Before Setup
Before diving into the setup, ensure you have the following:
-
An existing Wi-Fi network
-
The EX6250v2 extender
-
A smartphone, tablet, or computer
-
Access to a power outlet.
Place the extender in the same room as your router during the initial setup. Once configured, you can move it to your desired location.
Method 1: Setting Up Using the Nighthawk App
The Nighthawk app offers a user-friendly interface to set up your extender.
Steps:
-
Download the Nighthawk App: Available on both the Google Play Store and the Apple App Store.
-
Plug in the extender: Ensure the access point/extender switch is set to ‘Extender’.
-
Connect to NETGEAR_EXT: On your device, connect to the extender’s default Wi-Fi network.
-
Launch the App: Open the Nighthawk app and follow the on-screen instructions to complete the setup.
Once set up, relocate the extender to a spot halfway between your router and the area with weak Wi-Fi signals.
Method 2: Setting Up Using WPS (Wi-Fi Protected Setup)
If your router supports WPS, this method is quick and doesn’t require entering passwords.
Steps:
-
Plug in the extender: Wait for the power LED to turn green.
-
Press the WPS button on the extender: the WPS LED will blink.
-
Press the WPS button on your router: Do this within two minutes.
-
Confirm Connection: The WPS LED on the extender will turn solid green, indicating a successful connection. Netgear Downloads+1Netgear Downloads+1
If your router supports dual bands, repeat the process to connect both 2.4 GHz and 5 GHz bands.
Method 3: Manual Setup via Web Browser
For routers without WPS, a manual setup is straightforward.
Steps:
-
Plug in the extender: Wait for the power LED to turn green.
-
Connect to NETGEAR_EXT: On your device, connect to the extender’s default Wi-Fi network.
-
Open a web browser: Enter
http://www.mywifiext.netin the address bar. -
Follow the Setup Wizard: The installation assistant will guide you through connecting the extender to your existing Wi-Fi network.
After setup, move the extender to a location where it can effectively extend your Wi-Fi coverage.
Optimizing Extender Placement
For the best performance:
-
Place the extender halfway between your router and the area with weak Wi-Fi.
-
Ensure there are minimal obstructions like walls or electronic devices.
-
Use the Router Link LED to find the optimal location (green indicates a good connection).
“Think of your extender as a bridge—position it where it can connect both shores effectively.”
Conclusion: Enhancing Your Wi-Fi Experience
Setting up the Netgear EX6250v2 is straightforward and can significantly improve your home’s Wi-Fi coverage. Whether you choose the Nighthawk App, WPS, or manual setup, the key is to ensure optimal placement for the best performance.
Still experiencing issues? Consider checking out our detailed guide: Range Extender AC EX6250v2: The Ultimate Fix for Wi-Fi Dead Zones.
FAQs
Q1: Can I use the EX6250v2 with any router?
A: Yes, the EX6250v2 is compatible with any standard Wi-Fi router.
Q2: What if my router doesn’t support WPS?
A: You can use the Nighthawk app or the manual web browser method to set it up.
Q3: How do I reset the extender to factory settings?
A: Press and hold the Reset button on the extender for about 10 seconds until the Power LED blinks.
Q4: Can I use the extender as a wired access point?
A: Yes, by setting the access point/extender switch to ‘Access Point’ and connecting it via Ethernet.
Q5: How do I update the extender’s firmware?
A: Log in to the extender’s web interface at http://www.mywifiext.net And check for firmware updates under the settings menu.