How to Set Up Range Extender AC EX6410v2 – A Complete Guide
Posted by WifiExtSetup on 07th May 2025
Is your Wi-Fi dropping out in the corners of your home? Does your smart TV keep buffering in the middle of your favorite show? If so, the Netgear Range Extender AC EX6410v2 might be your best fix. But here’s the real question: How do you set it up properly to enjoy seamless coverage?
We get it—Wi-Fi extenders can sound technical, but trust us, setting up the EX6410v2 is easier than brewing your morning coffee. In this guide, we’ll walk you through everything you need to know about setting up the EX6410v2, from unboxing to boosting your Wi-Fi like a pro.
What is the Netgear Range Extender AC EX6410v2?
Before we jump into the setup, let’s understand the device.
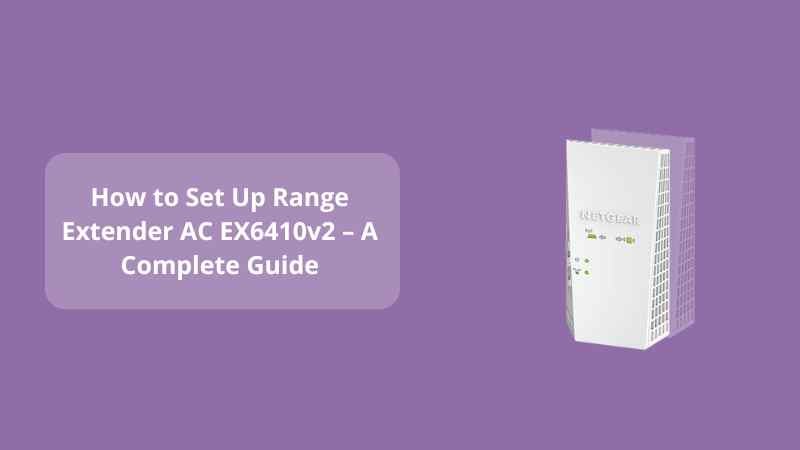
The EX6410v2 is a dual-band Wi-Fi mesh extender designed to amplify your router’s signal and eliminate dead zones. Supporting speeds up to 1900Mbps, it’s perfect for streaming, gaming, and smart devices.
“Wi-Fi is like oxygen in the digital age—you only notice it when it’s not there.”
Getting Started – What You’ll Need
To set up your EX6410v2, you’ll need:
-
A working Wi-Fi router
-
A power outlet
-
A device like a smartphone, tablet, or laptop
-
Your network name (SSID) and password
Pro Tip: Place the extender halfway between your router and the area with weak Wi-Fi for optimal performance.
How to Set Up Netgear EX6410v2 – Method 1: WPS Setup
The easiest way to set up your EX6410v2 is by using the WPS button. No need to type a single password!
Step-by-Step WPS Setup:
-
Plug in the Extender:
Wait for the Power LED to turn green. -
Press the WPS Button:
Hold it for 3–5 seconds. -
Press the WPS Button on Your Router:
Within 2 minutes of pressing it on the extender. -
Connection Success:
The extender’s LED will turn solid green. You’re connected! -
Repeat for 5 GHz Band (Optional):
Press WPS again on both devices if your router supports dual-band.
How to Set Up EX6410v2 – Method 2: Web Browser Setup
If your router doesn’t support WPS or you prefer the manual route, here’s how:
Step-by-Step Manual Setup:
-
Plug in the Extender and Wait for LEDs to Stabilize.
-
Connect to NETGEAR_EXT Wi-Fi:
Use your phone/laptop to connect to the extender’s default network. -
Launch a Browser:
Typehttp://mywifiext.netor192.168.1.250In the address bar. -
Follow On-Screen Instructions:
Select your home Wi-Fi and enter the password. -
Create an Extended Network Name:
You can keep it the same or add_EXTto differentiate. -
Reconnect Devices to the Extended Network.
Need help? Visit the official support site:
🔗 www.wifi-extsetup.com
Best Practices for Placement and Performance
-
Avoid placing the extender near metal objects or microwaves.
-
Please keep it away from corners or inside cabinets.
-
Update the firmware for better performance.
“Good placement is the difference between frustration and flawless connectivity.”
Still Seeing Dead Zones? Here’s a Pro Tip
If you’ve followed all the steps but still face signal issues, check out our related guide:
👉 Range Extender AC EX6250v2: The Ultimate Fix for Wi-Fi Dead Zones
Sometimes, upgrading to a higher model can make all the difference in large homes or multi-floor layouts.
Conclusion: Is the EX6410v2 Right for You?
If you’re tired of weak Wi-Fi signals, the Netgear EX6410v2 is a solid investment. The setup is simple, the performance is powerful, and your streaming and browsing will thank you.
Still wondering if it’s worth it? Here’s your answer:
-
✅ Want stable internet in every corner? Yes.
-
✅ Hate buffering and dropouts? Yes.
-
✅ Need an easy DIY setup? Absolutely.
So why wait?
🛒 Get your EX6410v2 today and surf freely!
Read More:- How to Set Up Netgear Range Extender AC EX6200v2: A Complete Step-by-Step Guide
FAQs: Netgear Range Extender AC EX6410v2 Setup
Q1. How do I reaccess the extender’s settings after setup?
A: Connect to the extender and type http://mywifiext.net In your browser.
Q2. Can I use EX6410v2 with any Wi-Fi router?
A: Yes, it works with all standard routers.
Q3. What do I do if the WPS setup fails?
A: Use the manual setup method via a web browser.
Q4. How do I reset the EX6410v2?
A: Hold the Reset button for 10 seconds until the Power LED blinks.
Q5. Can I change the extender’s Wi-Fi name?
A: Yes, during setup, you can rename it or use the default with _EXT.