A Complete guide on Netgear extender EAX20 setup
Posted by WifiExtSetup on 20th August 2024
In today’s connected world, a robust and extensive WiFi network is essential for both personal and professional activities. However, even the best routers can struggle to cover every corner of your home or office, leading to frustrating dead zones and weak signals. The Netgear EAX20 WiFi range extender is designed to address this issue, offering an effective solution to extend your existing WiFi coverage and improve overall network performance.
Method for Netgear extender EAX20 setup
Here are 3 methods for setting up your Netgear extender EZX20
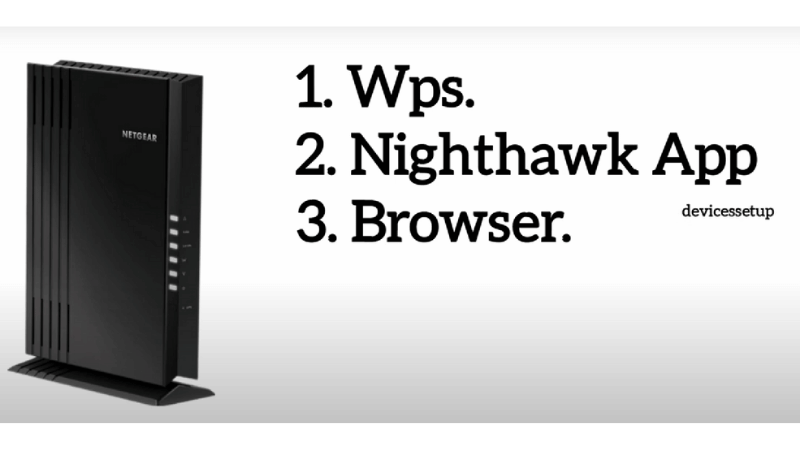
- Using WPS.
- Using a Web Browser.
- Through a Website.
Now, step by step we will learn to set up a Netgear WiFi extender
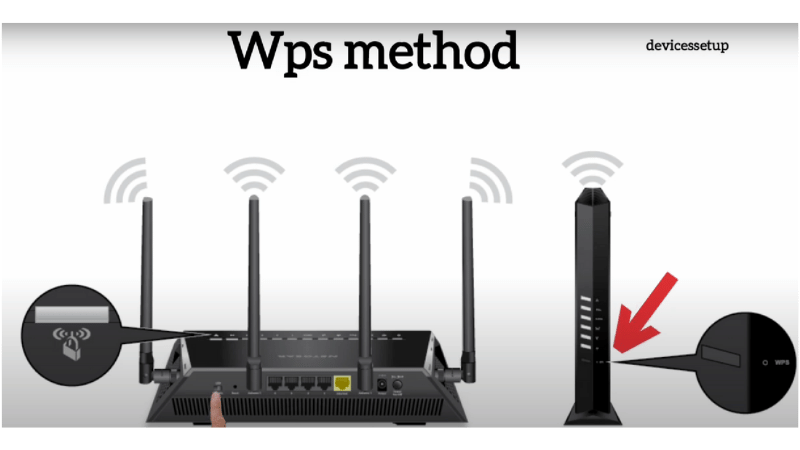
1. Netgear extender EAX20 Setup With Wps OR Manual method.
Plug in the Extender:
- Plug the extender into a power outlet near your router. Wait for the Power LED to light up and become solid green.
Activate WPS on the Extender:
- Press the WPS button on the extender. The WPS LED will start blinking.
Activate WPS on the Router:
- Within two minutes, press the WPS button on your router. When the WPS connection is established, the WPS LED on the extender will turn solid green.
Repeat for 5 GHz Band (if applicable):
- If your router supports the 5 GHz band, repeat steps 2 and 3 to extend the 5 GHz network as well.
Relocate the Extender:
- Unplug the extender and move it to a new location halfway between your router and the area with weak WiFi. Ensure the new location is within the range of your existing WiFi network. Plug it into a power outlet and wait for the Power LED to light up.
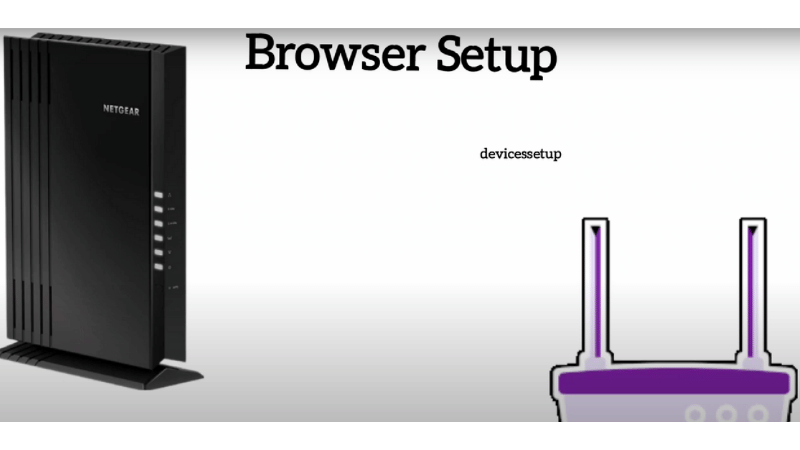
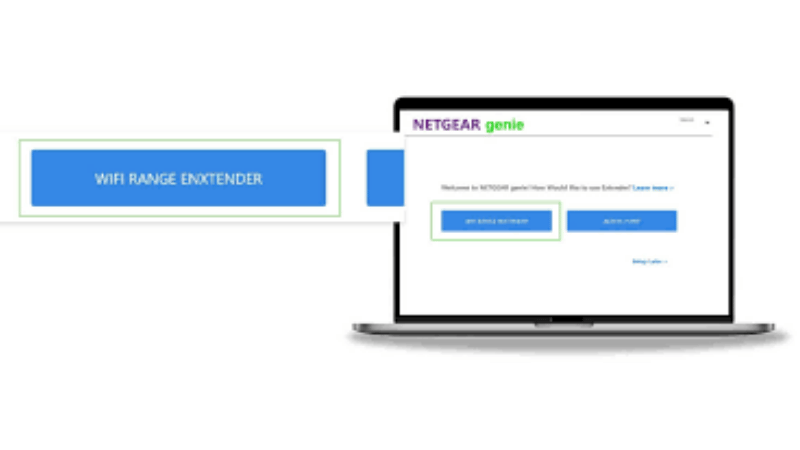
 2. Netgear Extender EAX20 Setup With Using a Web Browser.
Step 1: Initial Setup
- Unbox and Power On:
Plug the extender into a power outlet near your router. Wait for the Power LED to light up and become solid green.
Step 2: Connect to the Extender’s Network
- Find the Extender’s Network:
On your device (computer, tablet, or smartphone), go to the WiFi settings and look for the extender’s default network name, typically something like NETGEAR_EXT.
2. Connect to the Network:
Select the extender’s network and connect to it. There’s no password required for this initial connection.
Step 3: Access the Setup Page
- Open a Web Browser:
Open your preferred web browser (e.g., Chrome, Firefox, Safari).
2. Enter the Web Address:
In the address bar, type http://www.mywifiext.net or http://192.168.1.250 and press Enter.
Step 4: Set Up the Extender
- Create an Account or Log In:
You’ll be prompted to create a new account or log in if you already have one. Follow the on-screen instructions to create your account.
2. Start the Setup Wizard:
Once logged in, the setup wizard will start automatically. Click “New Extender Setup” to begin.
3. Select Your WiFi Network:
The extender will scan for available WiFi networks. Select your existing WiFi network from the list.
4. Enter WiFi Password:
Enter the password for your existing WiFi network to connect the extender to your network. Click “Next” to proceed.
5. Configure Extended Network Settings:
You can keep the default network name (SSID) and password for the extended network or create new ones. It’s usually best to keep the same SSID and password as your existing network for seamless roaming.
6. Complete the Setup:
Review your settings and click “Finish” to complete the setup process. The extender will apply the settings and reboot.
Step 5: Relocate the Extender
- Find an Optimal Location:
Unplug the extender and move it halfway between your router and the area with weak WiFi. Ensure the new location is within the range of your existing WiFi network.
2. Plug in the Extender:
Plug the extender into a power outlet in the new location//. Wait for the Power LED to light up.
3. Check the Signal Strength:
Use the LEDs on the extender to ensure you have a good connection to the router. The Router Link LED should be solid green for the best performance.
Step 6: Connect Devices to the Extended Network
- Reconnect to WiFi:
On your devices, go to the WiFi settings and connect to the extended network. The network name (SSID) will either be the same as your existing network or have a _EXT suffix, depending on your configuration during setup.
2. Test the Connection:
Ensure your devices can connect to the internet through the extender. Check the signal strength and speed in various locations to confirm improved coverage.
 Troubleshooting Tips:
- Cannot Access the Setup Page:
- Ensure your device is connected to the extender’s network.
- Try using a different web browser.
- Clear your browser’s cache and cookies.
- Extender Not Connecting to Router:
- Move the extender closer to the router and try the setup again.
- Double-check the WiFi password entered during setup.
- Weak Signal:
- Ensure there are no significant obstacles (e.g., thick walls, and metal objects) between the extender and the router.
- Relocate the extender for a better signal
3. Netgear extender EAX20 Setup With Through a Website
 Step 1: Initial Setup
- Unbox and Power On:
Unbox your Netgear EAX20 extender and plug it into a power outlet near your router.
Wait for the Power LED to light up and become solid green.
Step 2: Connect to the Extender’s Network
- Connect to the Extender’s WiFi Network:
On your computer, smartphone, or tablet, go to the WiFi settings.
Connect to the extender’s default WiFi network name, usually named NETGEAR_EXT.
Step 3: Access the Setup Page
- Open a Web Browser:
Launch your preferred web browser (e.g., Chrome, Firefox, Safari).
2. Enter the Web Address:
In the address bar, type http://www.mywifiext.net or http://192.168.1.250 and press Enter.
If you receive a security warning, proceed to the website as it’s safe.
Step 4: Set Up the Extender
- Create an Account or Log In:
You will be prompted to create a new account or log in if you already have one.
Follow the on-screen instructions to create your account.
2. Start the Setup Wizard:
Once logged in, the setup wizard will automatically start. Click “New Extender Setup” to begin.
3. Choose Your WiFi Network:
The extender will scan for available WiFi networks. Select your existing WiFi network from the list.
4. Enter Your WiFi Password:
Enter the password for your existing WiFi network to connect the extender to your network. Click “Next” to proceed.
5. Configure Extended Network Settings:
You can choose to keep the default network name (SSID) and password for the extended network or create new ones. It’s often best to keep the same SSID and password as your existing network for seamless roaming.
6. Complete the Setup:
Review your settings and click “Finish” to complete the setup process. The extender will apply the settings and reboot.
Step 5: Relocate the Extender
- Find an Optimal Location:
Unplug the extender and move it to a location halfway between your router and the area with weak WiFi. Ensure the new location is within the range of your existing WiFi network.
2. Plug in the Extender:
Plug the extender into a power outlet in the new location. Wait for the Power LED to light up.
3. Check the Signal Strength:
Use the LEDs on the extender to ensure you have a good connection to the router. The Router Link LED should be solid green for the best performance.
Step 6: Connect Devices to the Extended Network
- Reconnect to WiFi:
On your devices, go to the WiFi settings and connect to the extended network. The network name (SSID) will either be the same as your existing network or have a _EXT suffix, depending on your configuration during setup.
2. Test the Connection:
Ensure your devices can connect to the internet through the extender. Check the signal strength and speed in various locations to confirm improved coverage.
 Troubleshooting Tips
- Cannot Access the Setup Page:
Ensure your device is connected to the extender’s network.
Try using a different web browser.
Clear your browser’s cache and cookies.
- Extender Not Connecting to Router:
Move the extender closer to the router and try the setup again.
Double-check the WiFi password entered during setup.
- Weak Signal:
Ensure there are no significant obstacles (e.g., thick walls, metal objects) between the extender and the router.
Relocate the extender for a better signal
Conclusion
Setting up your Netgear EAX20 WiFi range extender is a straightforward process that can significantly enhance your WiFi coverage and performance. By following the comprehensive steps outlined in this guide, you can ensure a smooth and efficient setup, enabling you to enjoy robust and reliable internet connectivity throughout your home or office.
To summarize the setup process:
- Initial Setup: Unbox the extender, plug it into a power outlet near your router, and wait for the Power LED to turn solid green.
- Connect to the Extender’s Network: Use your device to connect to the Extender’s default network.
- Access the Setup Page: Open a web browser and navigate to http://www.mywifiext.net or http://192.168.1.250.
- Configure the Extender: Follow the on-screen setup wizard to connect the extender to your existing WiFi network and configure your extended network settings.
- Optimal Placement: Relocate the extender to a position halfway between your router and the area with weak WiFi, ensuring a good connection.
- Connect Devices: Reconnect your devices to the extended network and verify the improved coverage and performance.Read More:- Netgear EX6100 AC750 Range Extender Manual Guide | Setup | Reset | Firmware Update | Troubleshoot
FAQ
1. What is the Netgear EAX20, and what does it do?
- The Netgear EAX20 is a WiFi 6 range extender designed to boost the coverage and performance of your existing WiFi network. It helps eliminate dead zones, enhance signal strength, and provide reliable connectivity throughout your home or office.
2. What should I do if I can’t access the setup page?
- Ensure your device is connected to the extender’s network.
- Try using a different web browser or device.
- Clear your browser’s cache and cookies.
- Use the IP address http://192.168.1.250 instead of the web address.
3. What should I do if I can’t access the setup page?
- Ensure your device is connected to the extender’s network.
- Try using a different web browser or device.
- Clear your browser’s cache and cookies.
- Use the IP address http://192.168.1.250 instead of the web address.
4. Where is the best place to position my extender?
- Place the extender halfway between your router and the area where you need better coverage. Ensure it is within range of your existing WiFi network and away from obstructions like thick walls or metal objects.
5. Why is my extender not connecting to the router?
- Ensure the extender is within range of your router.
- Double-check the WiFi password entered during setup.
- Restart both the router and the extender.
- Move the extender closer to the router and try the setup again.